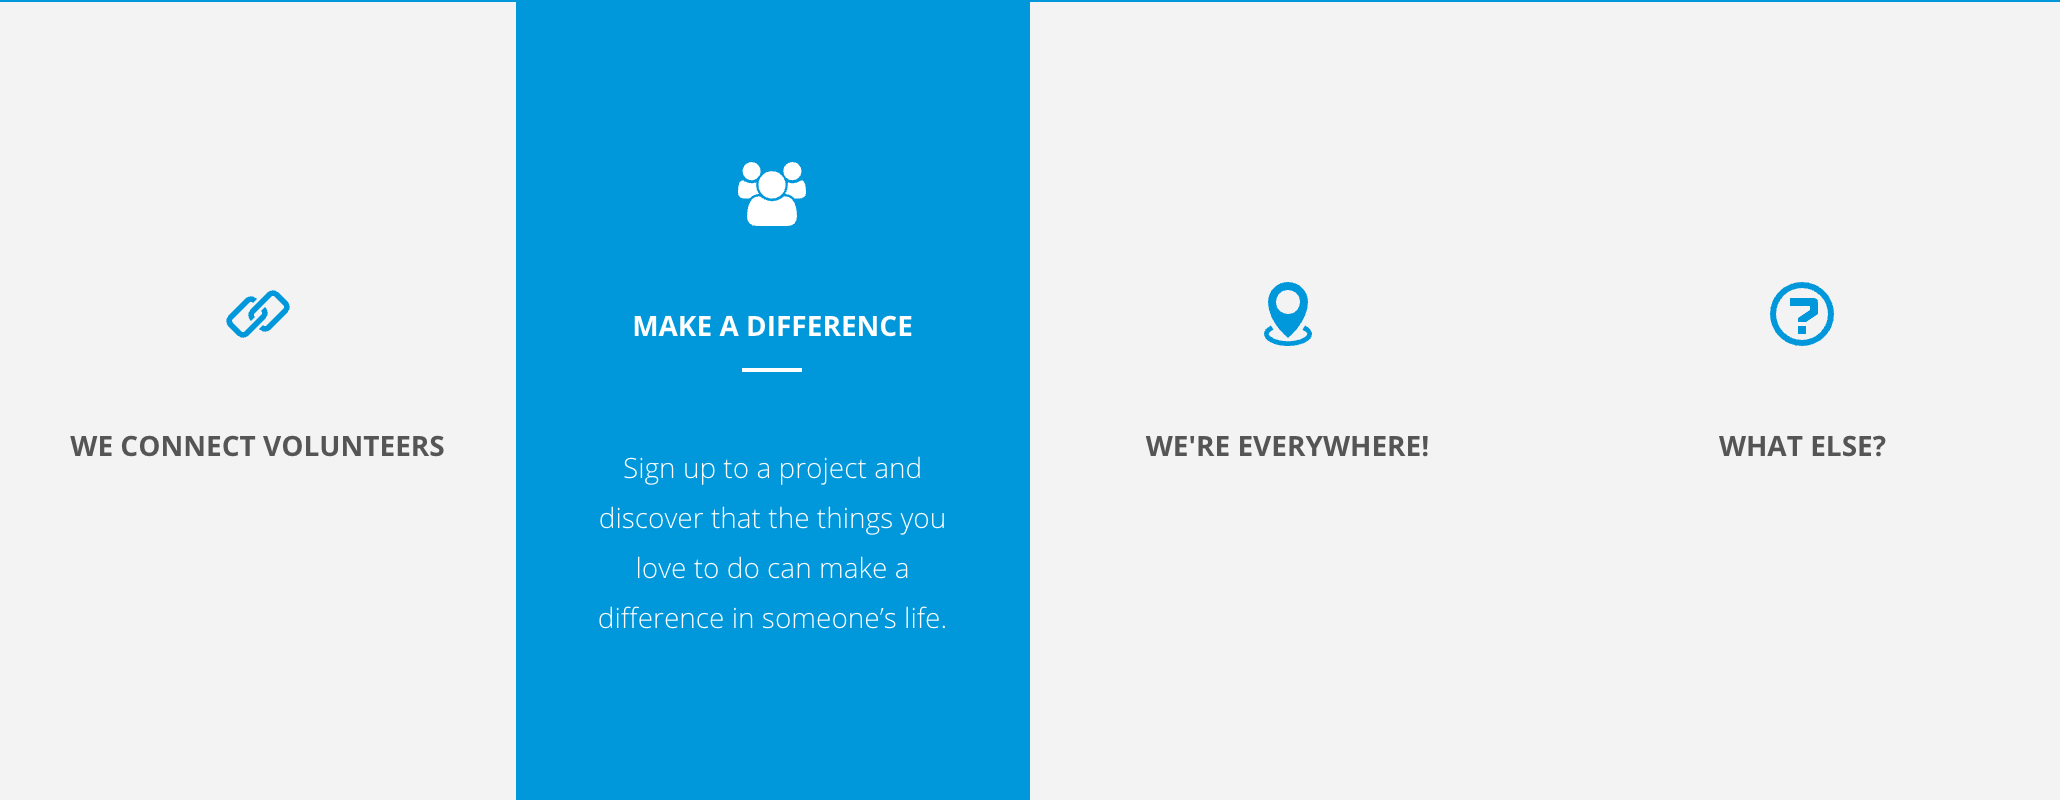
Animated columns are the columns with an icon, title and description that you see on the default homepage of your new website. As their name indicates, they are columns that have an animation (on mouse over).
Like posts, their content is managed in a specific section of the admin.
Content
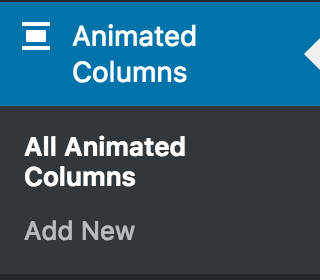
Go to Animated Columns in the left menu, then either edit the column you want to edit, or add a new one.
Here are the fields to fill:
- Title
This is the title of the record for admin purposed. It is not displayed publicly. - Icon Type
Either Font Icon or Upload Image. Font Icon means an icon selected within the available icons of the theme. - Add Icon Class Name
In case of Font Icon. Copy the class of the Icon you would like to use for this column.
or Upload Image - Column Title
This is the title that will be displayed publicly. - Column Short Description
Description displayed on rollover. Keep in mind this is a SHORT description. - Button URL
If you want to add a link, insert the URL here. Or leave blank. - Button Text
If you want to add a link, insert the text of the link here. Or leave blank. - Button Target
By default, the target will open in the same window. In some cases you might want to open it in a new window. - Order
By default, the post order is 0. It can be useful to define it for displaying purposes.
Once the fields are filled, do not forget to publish the post.
Display columns in 1 colour
You have your different Animated Columns but now, you need to display them on your website. If you want to have them all in the same colour, here is how.
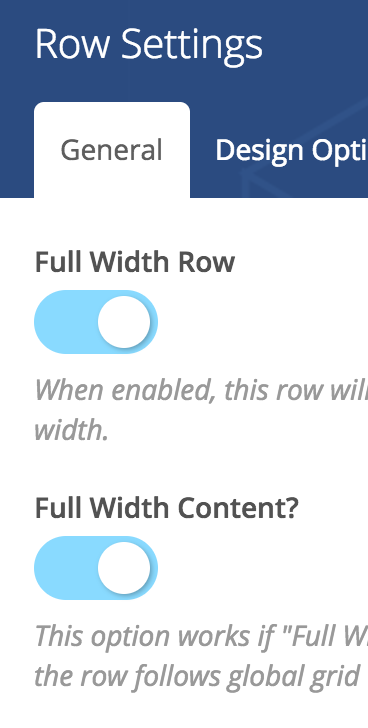
On your content page, create a new row (as explained in Rows / Page Sections). For design purposes, it is advised to make the row and content full width.
Once your row is ready (general settings like background colour, padding, …), add the block Animated Columns.
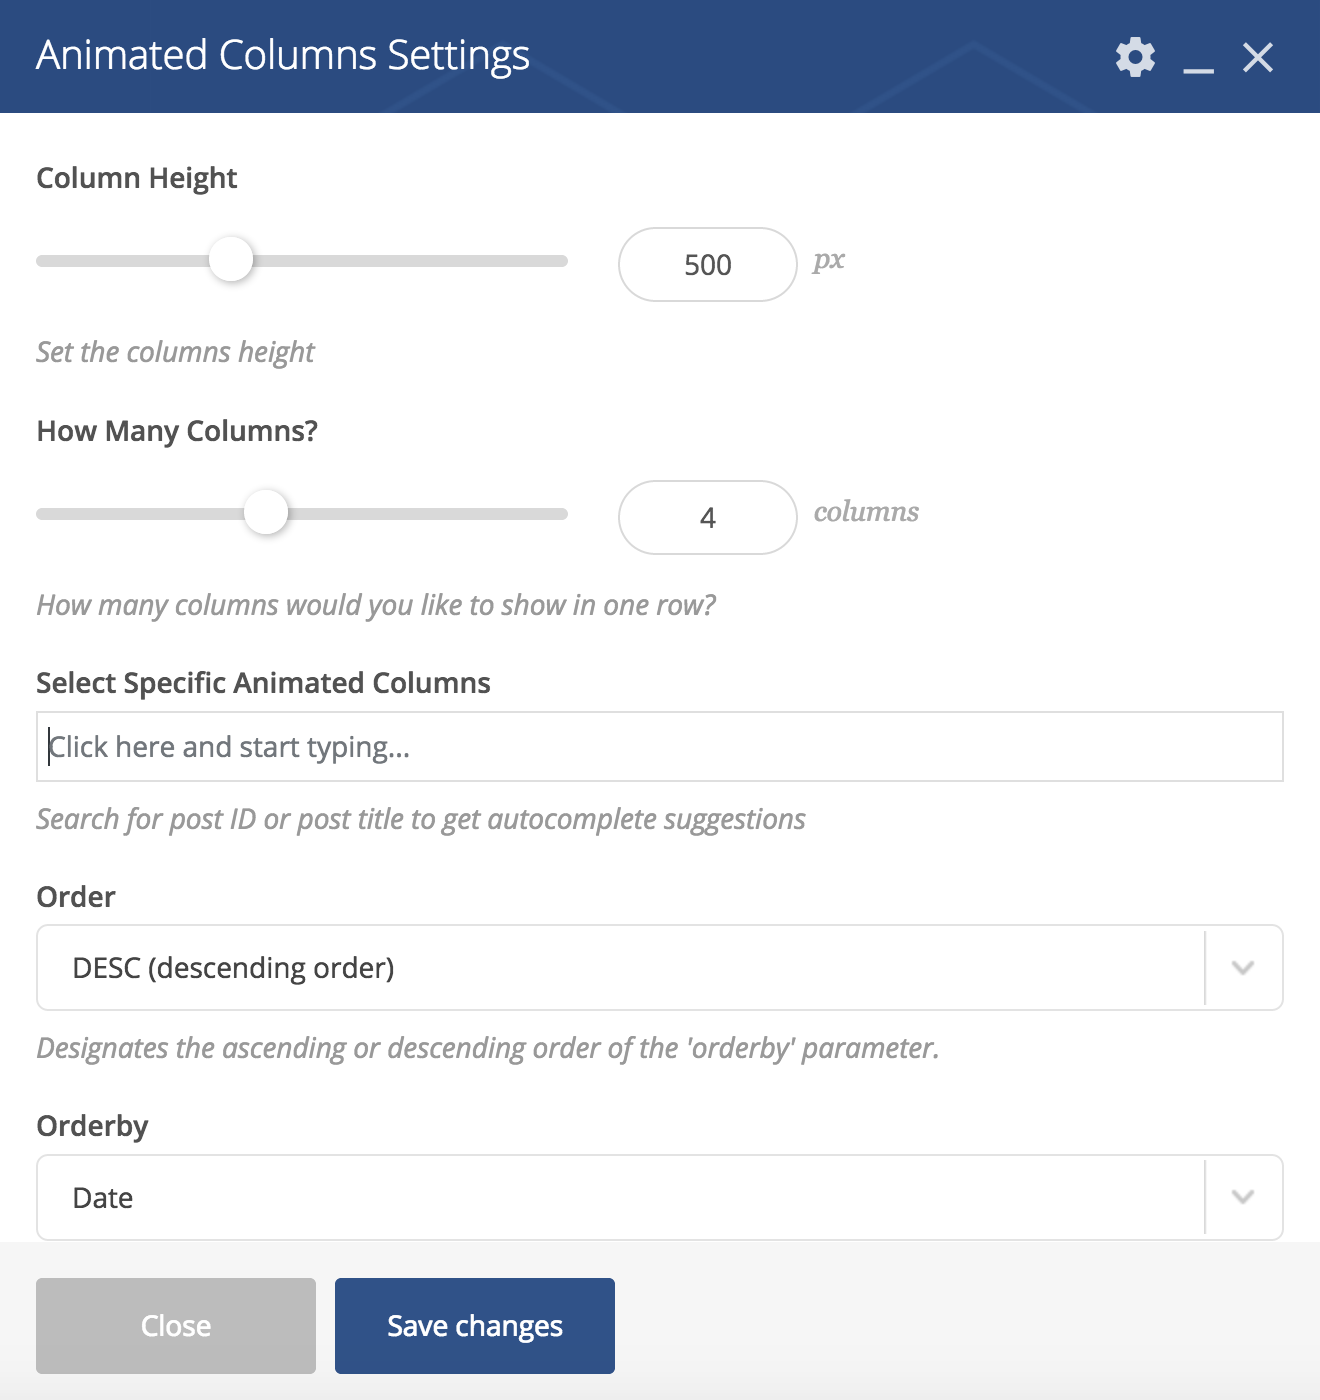
The following screen will open, where you can define the layout settings and select the elements to display.